After getting the house closed up, the next task to be done was to install our woodstove. It has been said that at least in a cold climates, the woodstove is the engine of the entire modern homestead. An efficient and well-built wood burner does so much more than just heat your home and its importance cannot be overstated. A well outfitted woodstove can cook your food, dry your clothes, dry your food, heat your home and heat your water.
 After using a Jotul 602 exclusively for a few years (albeit in a 330 square foot cabin) I chose to select the same model for our barnhouse. Though technically undersized for our structure (the 28,000 btu Jotul 602 is capable of heating up to 800 sq feet and our barnhouse is 1200 sqft including the upstairs), it hasn’t struggled the least bit in heating our super insulated (6″-11″ of insulation in the walls) passive solar barnhouse once it was finished being insulated. There is no insulation between the upstairs and downstairs, which allows the warm air to make its way upstairs without issue. I wasn’t sure at first if it would put out enough heat so I had a 66,800 btu stove on stand by that would could step up and switch out if we needed to, but we never needed it.
Installing a stove is not a simple task and it is certainly not an undertaking that should be done on a whim. Clearances, roof penetrations, system layout and components need to be checked and double checked to insure a safe, water tight and efficient system. Though I detest most building code, (both their substance and their principle) structure fires are a real and serious concern. I have installed a couple of woodstoves before and precisely followed all setbacks from combustibles. We were lucky to get some help from friends Anthony and Brian, which helped us power through the install and get the fire going in less than a day. The first step was to check and recheck all the measurements to get the exact location of the woodstove ensuring it was not only centered in the house but as close to the back wall as safely possible. Next we had to transfer that location up through the second floor using a plumb-bob (or a string with a weight on it).


Once I was confident in my measurements I cut a hole through the floor to allow for the support box to be installed. Installing the support box was a breeze. I slid it into the hole until it hung down far enough for my liking, had a helper ensure it was level and plumb and then secured it with a 2×4 box and some screws.
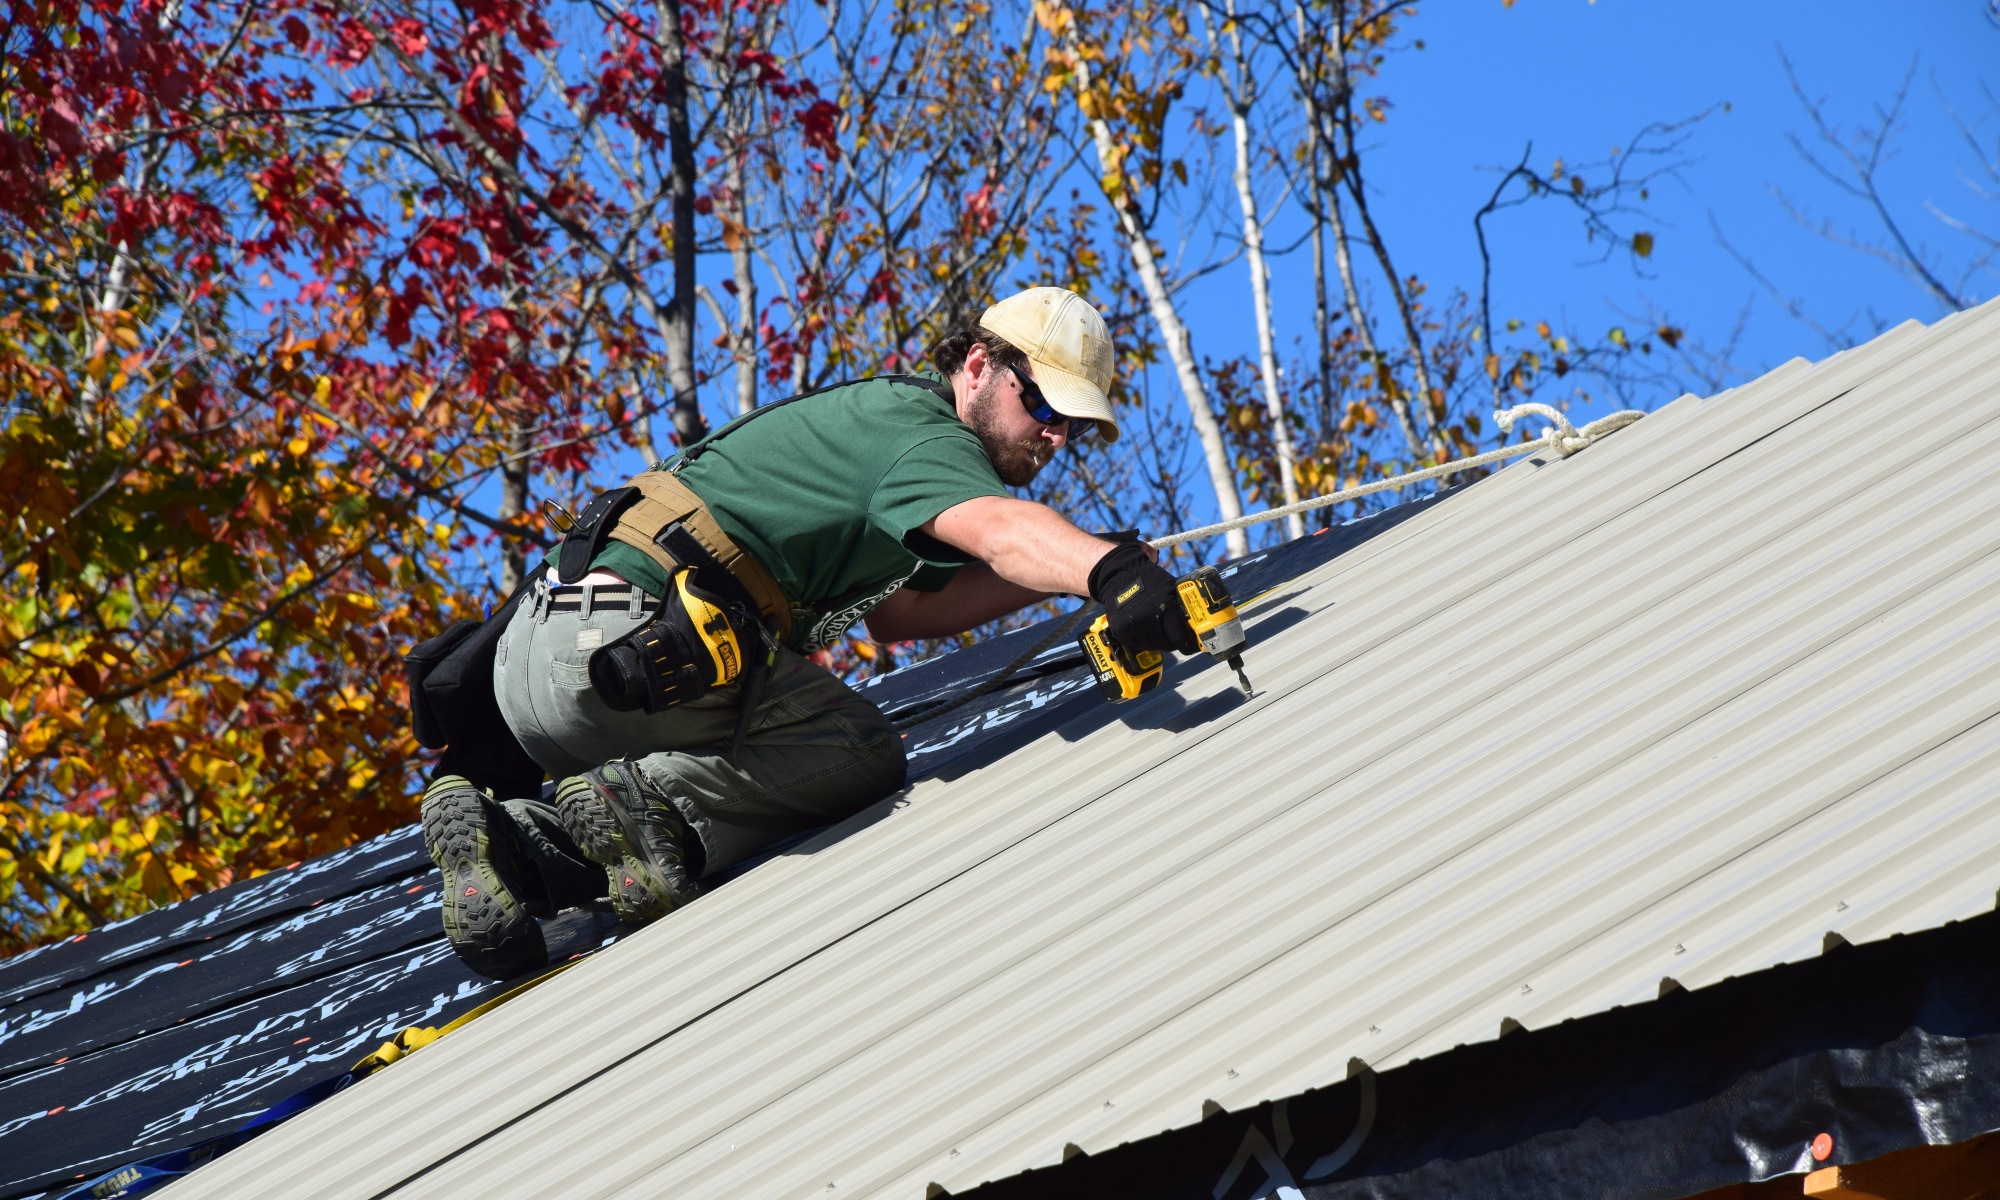
With the ceiling support box in place, I could then transfer that point again up to the roof with a string line or a long level. The easy part complete, we could now move on to cutting a hole in the roof, which I painstakingly installed months earlier. This step was very difficult, as it was very tight between the joists. We resorted to very primitive techniques to cut away both the sheathing and metal roof, including but not limited to sawzalls, angle grinders, chisels and claw hammers.


After what felt like hours we had a roughly oval hole in my roof that allowed my stove pipe to stand straight up. I built a 2×10 box to support the rafter I had to cut and moved onto the roof.
While the helpers did a supply run to grab an overlooked adapter (the part that goes directly from the stove to black uninsulated pipe) I strapped in and climbed onto the roof carrying 6 feet of triple insulated chimney pipe. I was able to drop it down the freshly cut hole and have wren hold the interior sections so I could spin the top ones and lock them together. I went to secure the boot (a cone like piece that waterproofs the hole in the roof) and immediately knew we had a problem. The 80$ piece that I had already cut to fit the diameter of the stove pipe was too small to cover our carefully cut (though admittedly ragged) hole. After looking online I realized they made a slightly larger one that would still fit our pipe but hopefully cover more area of the roof. Disappointed I wasted a $80 part, I ordered the replacement and hoped it wouldn’t rain until it came. I also measured how high the pipe needed to penetrate above the roof for proper clearance and confirmed I would need to order a support bracket for it. I temporarily attached the top cap and climbed down.


When Brian and Ant returned we were able to install the black stove pipe to the stove and complete the install (at least temporarily). The first fire was a joy to start and sleeping in the house when it was above freezing was a novel and empowering feeling. Everyone stayed warm enough considering much of the roof was still uninsulated, as was one of the walls.


Over all it went well, though we ran into some problems. In hind sight I should’ve held the boot up to the hole in the roof before I cut it then I would have realized it wouldn’t fit, returned it and not lost $80 bucks. I also should’ve changed my rafter spacing when framing to account for the stove pipe and then I wouldn’t have had to cut it. A week or so later I replaced the boot with one that was big enough to cover the hole, installed the support bracket and siliconed the whole set up which brought the install to a close.